
How to Create an Article
Learn how to create, format, and organize articles in HelpSite. This quick guide will walk you through the full process from writing content and applying formatting, to setting visibility options and saving your work. Whether you're publishing your first article or updating your help center with new content, this tutorial will help you do it quickly and confidently.
By the end, you'll know how to:
Write and format articles using the built-in editor
Choose between draft or published status
Organize content with categories and search keywords
Save, preview, and finalize your articles with ease
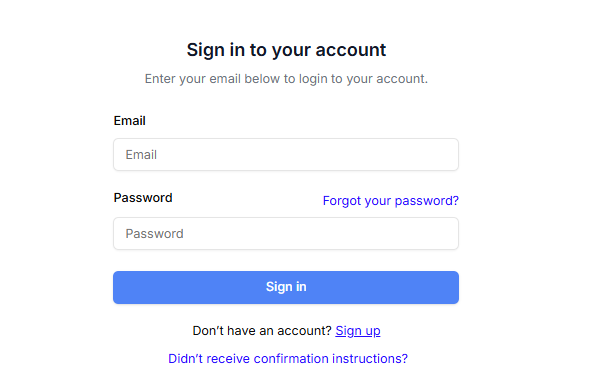
1. Log In
Visit https://app.helpsite.com and sign in using your account credentials.
💡 If you're managing multiple HelpSites, make sure you're in the correct one before continuing.
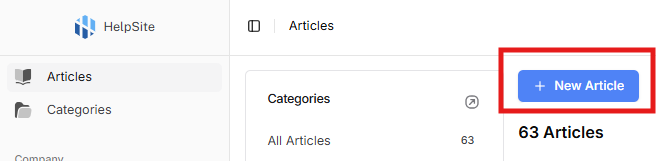
2. Click “Create New Article”
From your dashboard or article list, click the Create New Article button. This opens up the editor where you'll begin drafting your content.
Pro Tip: If you're duplicating a similar article, consider using the Duplicate Article option instead (found in the article list) to save time.

3. Add a Title and Content
- Start by entering a clear, helpful title that reflects what your article is about. Good titles make it easier for users to find the help they need — think “How to Reset Your Password” instead of just “Password Help.”
Then, begin writing your article content in the editor below. You can format text, insert links, images, videos, and even tables to organize information clearly. Be sure to structure your content using headings and bullet points where needed for easier reading.
- Try Auto-Write Article (Beta)
You may see a green link at the top right of the editor: Auto-Write Article (Beta). This feature uses AI to help you generate article content quickly.
⚠️ Note: This is an experimental feature and may be changed or removed at any time. Use it to jumpstart your writing, but always review and edit the results to ensure accuracy and clarity.

4. Format Your Article
Use the toolbar above the editor to make your article easier to read and visually engaging:
- Use bold, italic, or headings to highlight key points
- Create bullet lists or numbered steps for instructions
- Insert links to other articles or external resources
- Add images, videos, or tables to support your content
- Use the code view (</>) if you need to work in HTML

💡Tip: Hover over each icon in the toolbar to see what it does.
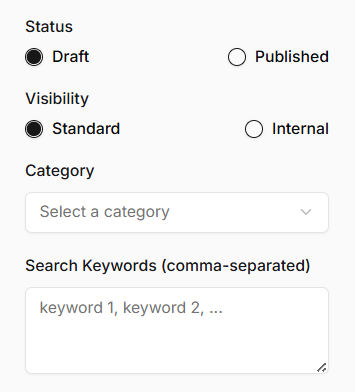
5. Set Article Options (Right Sidebar)
In the right-hand panel, you’ll see several options to fine-tune how your article behaves:
Status: Choose Draft (to save without publishing) or Published (to make it live).
Visibility: Set to Standard (public-facing) or Internal (for team-only content).
Category: Select a relevant category to help organize your content.
Search Keywords: Add comma-separated terms to improve article discoverability in search.
6. Save Your Article
Once you’re ready:
Click Save & continue editing to keep working without closing the editor.
Click Save & Done to save your changes and return to the article list.
Don’t forget: You can always come back and update articles at any time.